1. Login to AmberPOS and access the Setup menu.
2. In the Inventory Menu:

Step 1: Select your SKU to edit the label for.
Step 2: Select Print Labels to open the Label Designer overview.
3. Label Designer Overview:
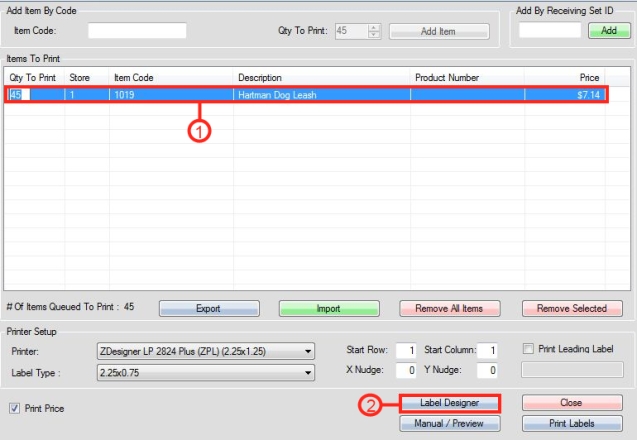
Step 1: Select the SKU in the list to edit the Labels for it.
Step 2: Select the Label Designer option to open the Label Designer Menu.
4. Label Designer Menu.

Step 1: Click the  next to Edit Existing Label, then select the desired Label Size.
Step 2: Select Edit to edit the Label for the SKU chosen in the previous steps above.
5. Editing a Label Overview:
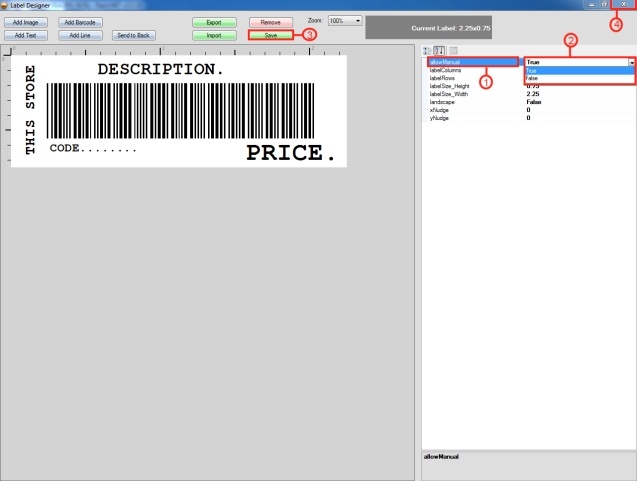
Step 1: Select the AllowManual field by clicking the text once.
Step 2: Next to AllowManual, click the ![]() to open a drop down menu, select the True option.
to open a drop down menu, select the True option.
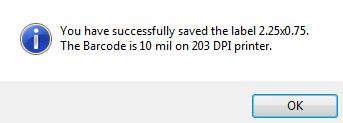
Step 3: Select Save to finalize your changes, a prompt will appear, select Ok. It will be similar to the example image below except with your own label settings shown instead.
Step 4: Click the X in the top right corner of the AmberPOS screen to close the editing label window and take you back to the Label Designer Overview.
6. Testing the Label options in Label Designer:
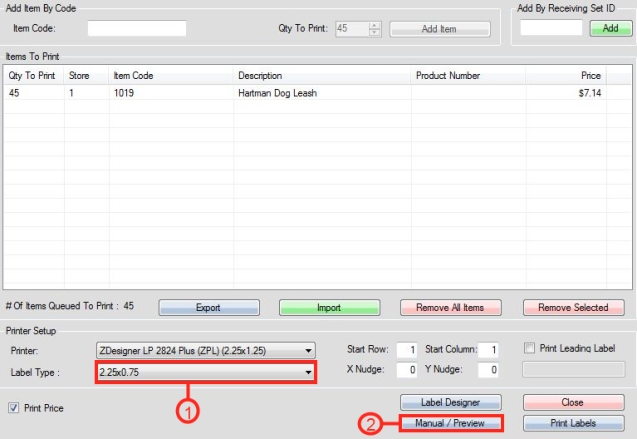
Step 1: Select the Label type that you chose to edit the label settings associated with the SKU chosen as in the image shown below. In this case the value is 2.25x0.75.

Step 2: Select Manual / Preview to test your new Label Settings.
7. Manual / Preview Screen Overview:

Step 1: The location where you can now manually edit your Label Settings.
Step 2: Select the Print option to print and test your new manually edited label.
Updated