1. Log into the system, and then access the Setup menu
2. Select the  tab near the top of the screen.
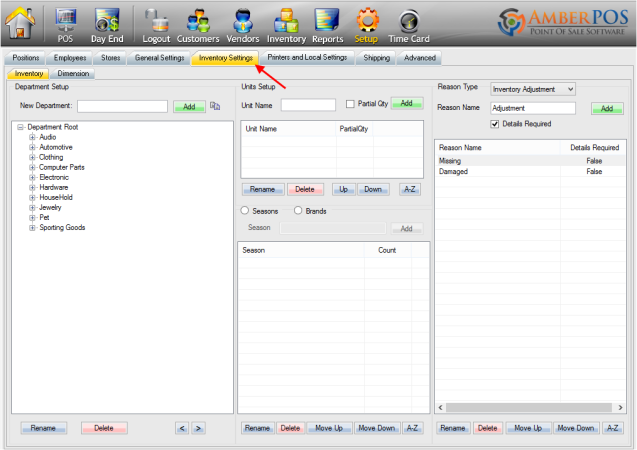
3. Location of departments:

4. Your department will be created depending on which root you have selected.
Example: If  is selected and you create a department called Bookstore, it will be created under
  then, if you click to select Bookstore, you can create a department with Bookstore selected to create a sub-department for that, etc.

5. Departments Overview:

Step 1: To the right of  type in the name of the department you wish to create.
Step 2: Click  to finalize the creation of the department.
(After creating a new department, make sure that you enter an account for that department into your general ledger settings)
Article written with AmberPOS version 4.14.05.05
Updated