1. To setup your gift registry, first open AmberPos and login with your username and password. Then access the POS menu.
2. Under the POS menu hit [shift f5] or click Gift Registry under the miscellaneous tab on the right hand side of your screen. Make sure you have the proper customer selected!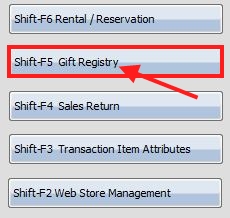
2. Click the Create New button under Refresh on the right hand side. Fill in any info required in the Registry Info tab.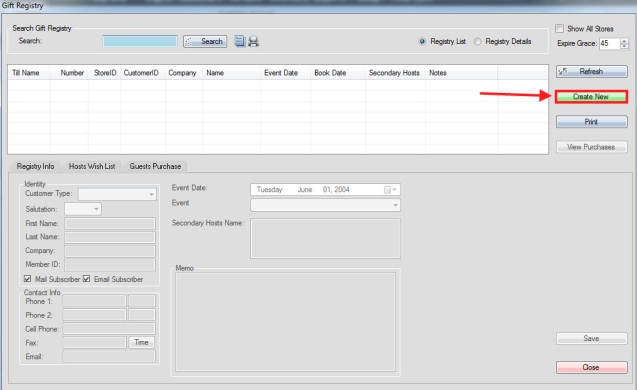
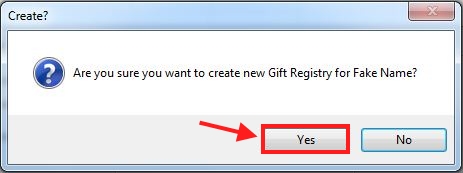
3. A prompt will appear asking you to confirm the creation.
4. Overview of the Host Wish List tab: Here you can either scan items in or manually add them yourself. The items you add will appear on the wish list for this customers gift registry. Watch your quantities! After you have completed this step your Gift Registry can be closed.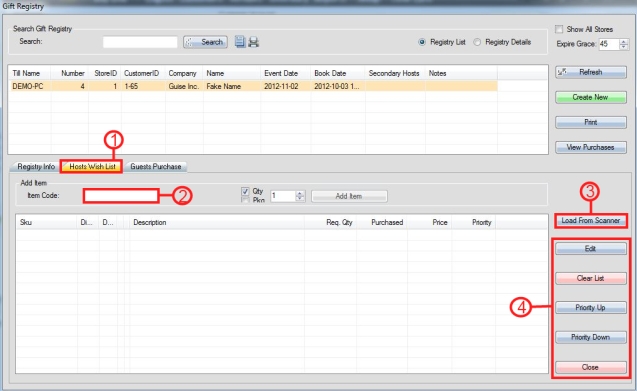
Step 1: Select the Host Wish List tab.
Step 2: For manually entering SKUs, enter the SKU codes into this field.
Step 3: To load the SKUs from your scanner, select the Load From Scanner option.
Step 4: These options will allow you to Edit a particular SKU, Clear the entire SKU list, set Priorities of SKUs, and Close the window.
5. Now that you have your gift registry, we'll assume you have a customer from a wedding party (for example) who wants to buy an item from the registry. To do this, you load up the POS again (input the customers name into the system, but it's not required) and click "Gift Registry". 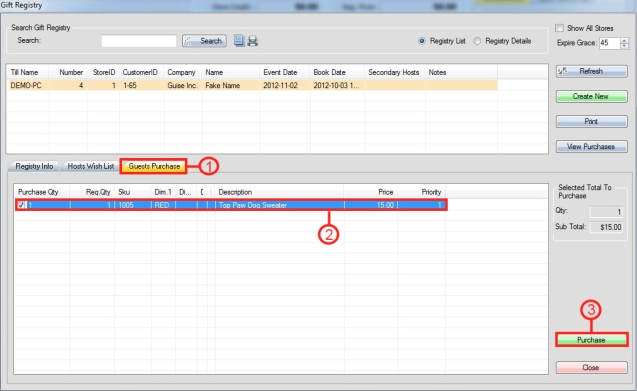
Step 1: Select the proper Gift Registry list from the customer name and go over to the Guests Purchase tab.
Step 2: Here you can select what item(s) the customer will buy for the party by selecting them in the click box on the left.
Step 3: Click the Purchase button to send it into POS.
6. Complete the purchase as normal. When you go back into the gift registry under the Host Wish List the Purchased quantity will reflect the purchase that was just made.
Updated