Once you have a receipt printer installed, for legibility reasons you may prefer to run it as a Generic / Text Only printer
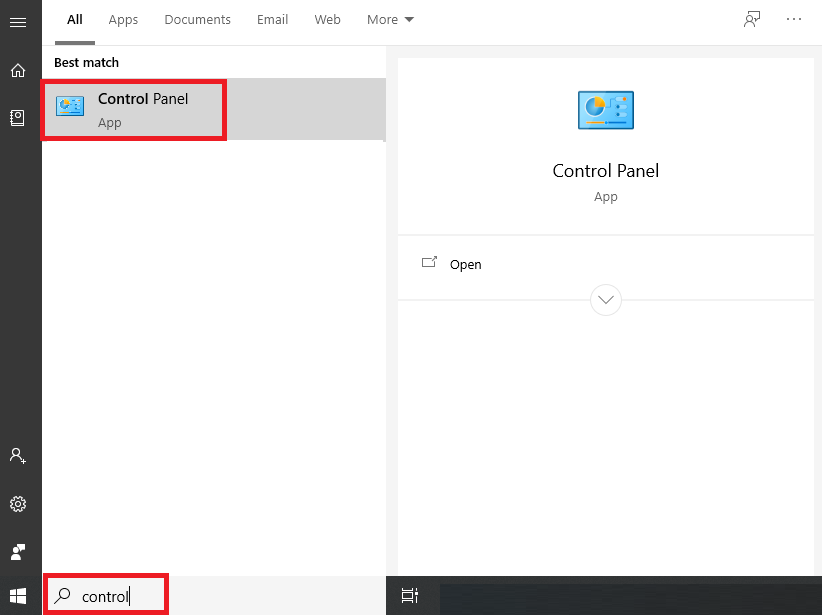
The first step is to access the Devices and Printers section of your Windows control panel. Begin by selecting your Windows Start button, and then typing in Control Panel to find the application to run.
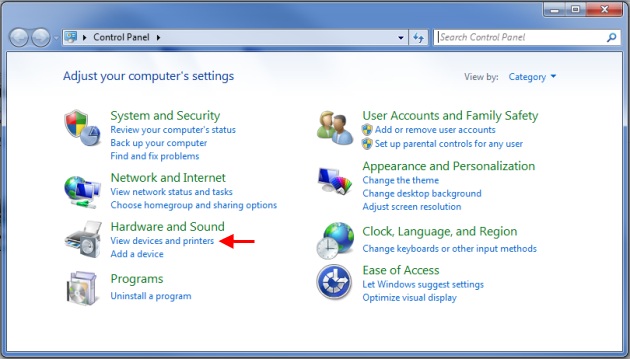
Next, under the Hardware and Sound section, click on View Devices and Printers.
Next, locate your receipt printer in the list of installed devices, and right click it. In the context menu which appears, select Printer Properties.
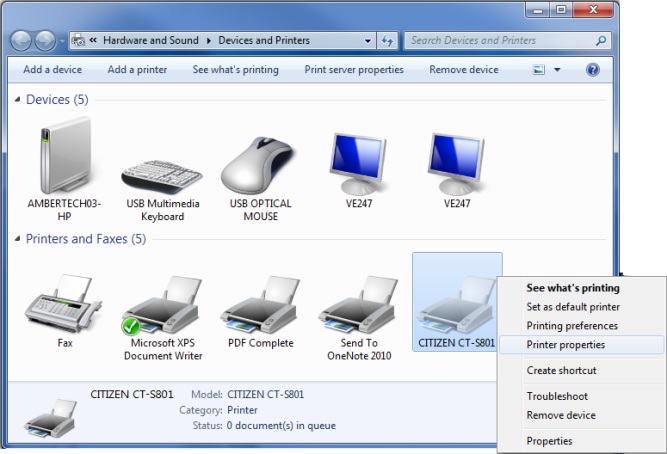
Your printer model may not match the one used in the example, but the procedure will be the same.
The General tab should be selected by default when the properties window opens, otherwise select it. The first field at the top of the page will display the name of your printer. Change this to "Generic / Text Only". Then press OK at the bottom of the window.

Next, ensure that AmberPOS is set to print your invoices on a generic / text only printer. (see: Assigning Printers to Document Types)
**note that this procedure may not work for all printer types, notably Epson models. Another way to run a generic text printer is to add a new printer using the Generic / Text Only and set it to the same port as your regular printer**
Updated