Return reasons will require the clerk to select a reason for returns and exchanges. You can also enable 'Details required' for a more detailed reason.
Return reasons can be set up in the Inventory Settings window. From the Setup Menu select the  tab.
tab.
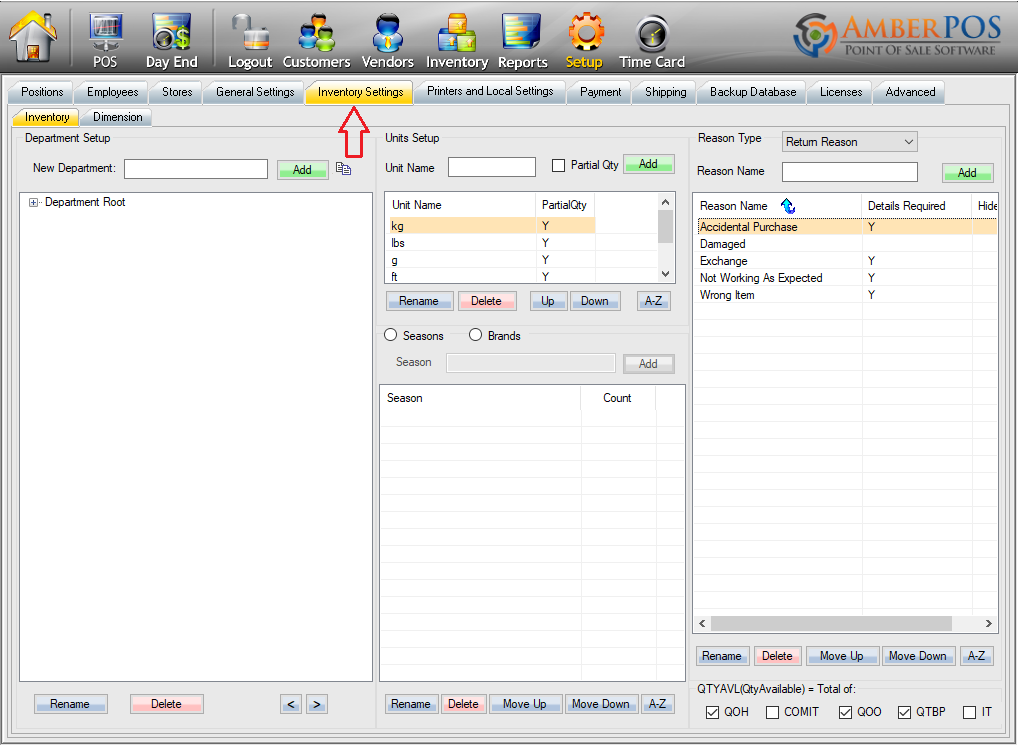
On the right side of the screen you will find the Reason Setup section.
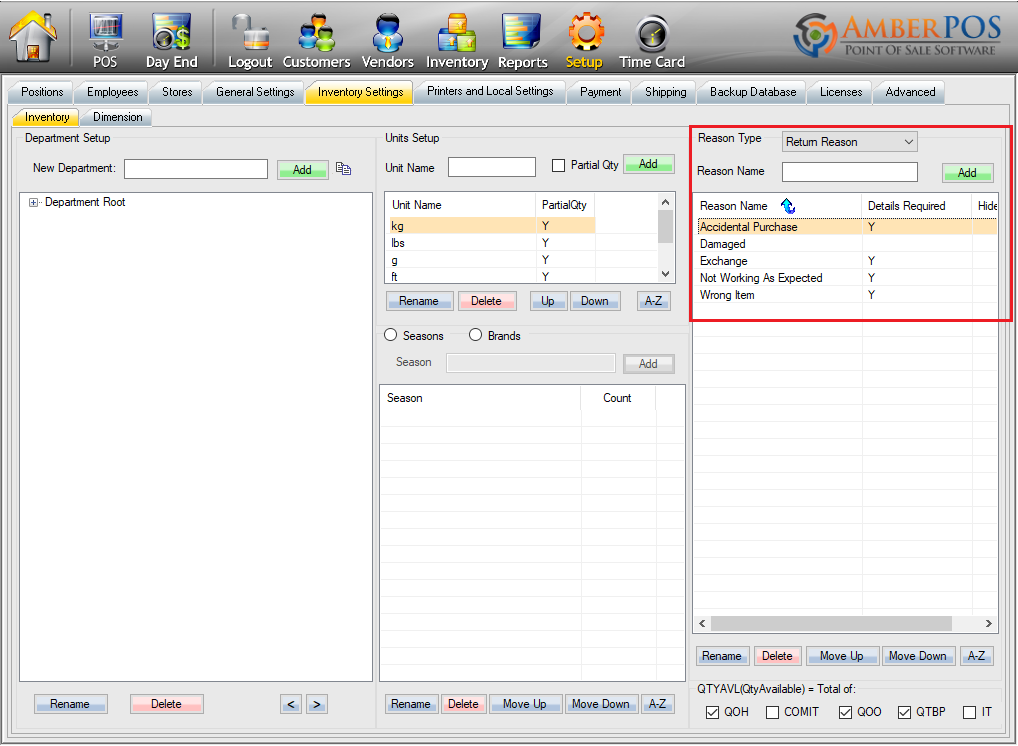
Select the 'Reason Type' dropdown menu, and choose 'Return Reason'.

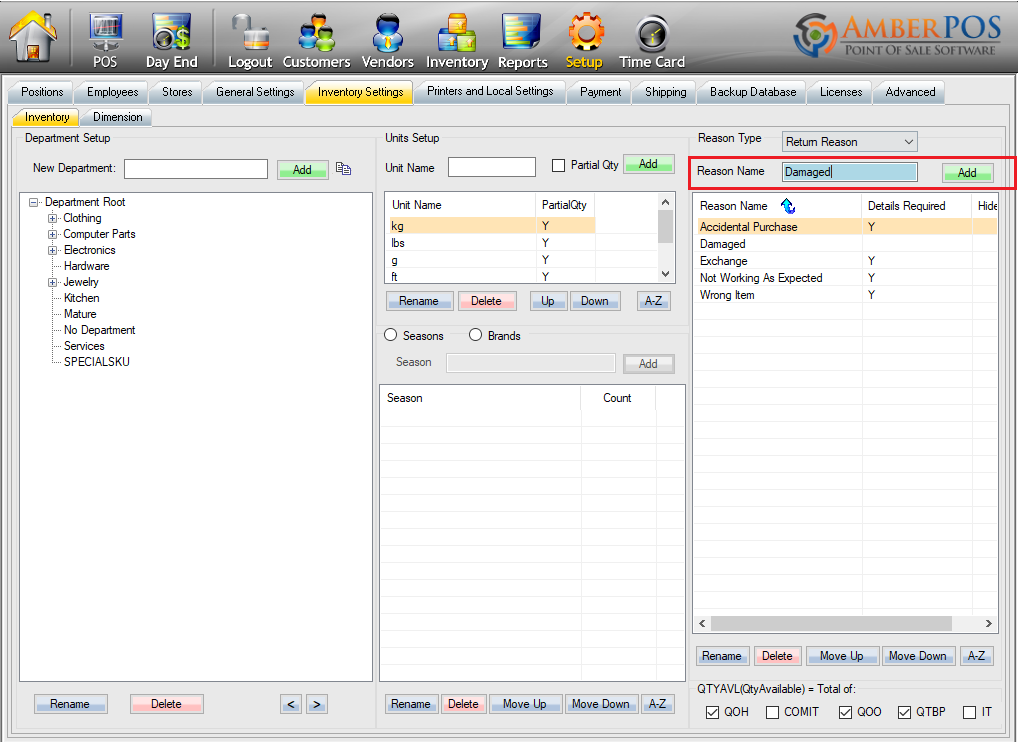
Add new return reasons by entering the name of your reason into the 'Reason Name' field and then click 'Add'
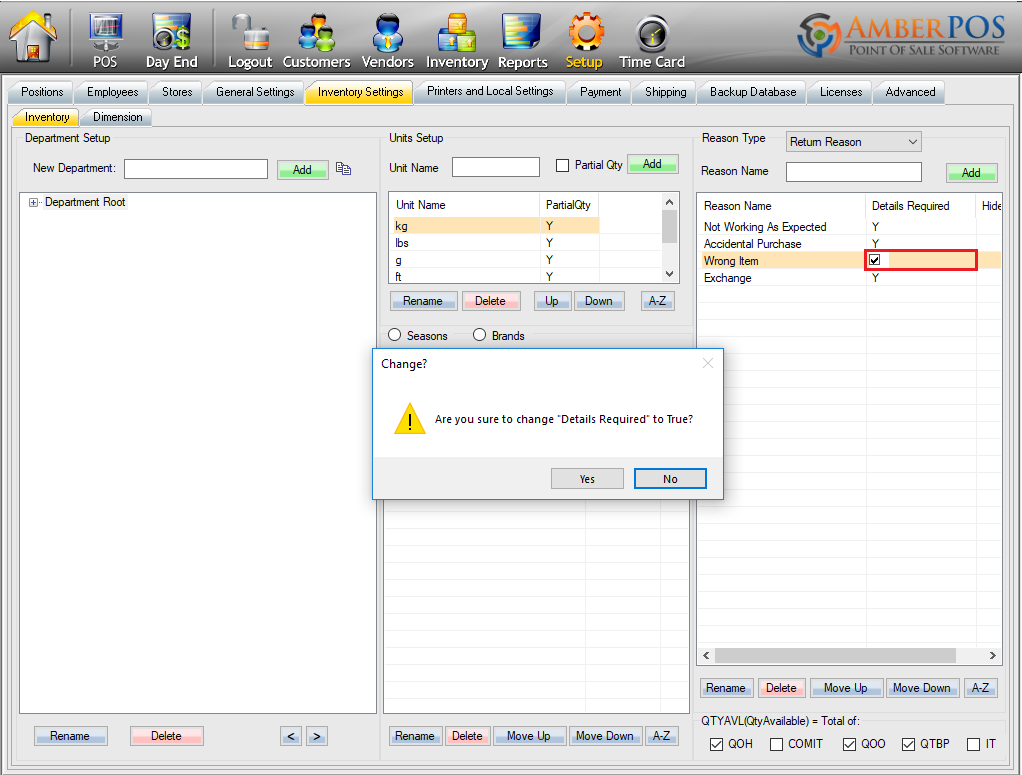
If you want specific details about the return to be required, select the 'Details Required' field on applicable reasons and check the checkbox. This will bring up a window asking if you would like to change 'Details Required' to true, select 'Yes'.
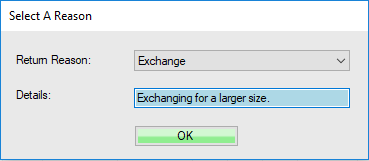
Now when you process a return either through the return module or by manually changing the purchase quantity to a negative number it will open a 'Return Reason' window upon clicking 'Payment'.

Here you can select your return reason through the dropdown menu and enter details about the return in the 'Details' field. You will not be able to advance until you select a reason and enter details if 'Details Required' is enabled.
Updated