Creating a New Purchase Order
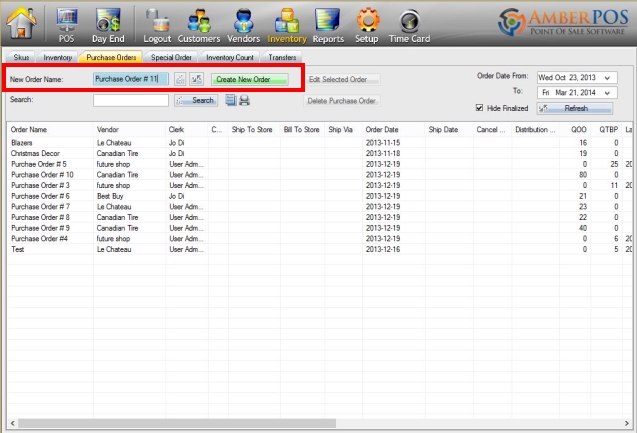
The first step in creating a new purchase order is to first open up the purchase order window. From here you will have to enter a name for your new order in the New Order Name field. You can manually type in an order name, or use the  button to automatically insert a name based upon the naming rules you have previously setup (see: Naming Patterns). Once you have entered a suitable name, press
  to create your new purchase order.
Preview:
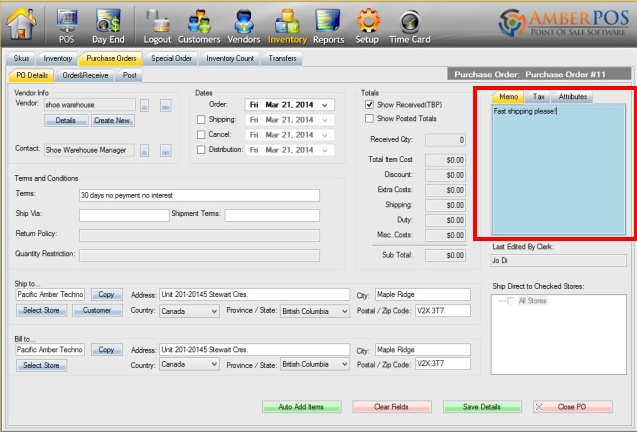
You will now be brought to the PO Details screen. This is where you will enter the details of your new purchase order.
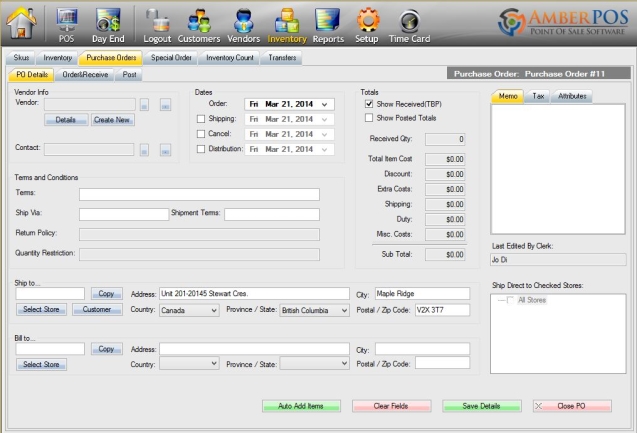
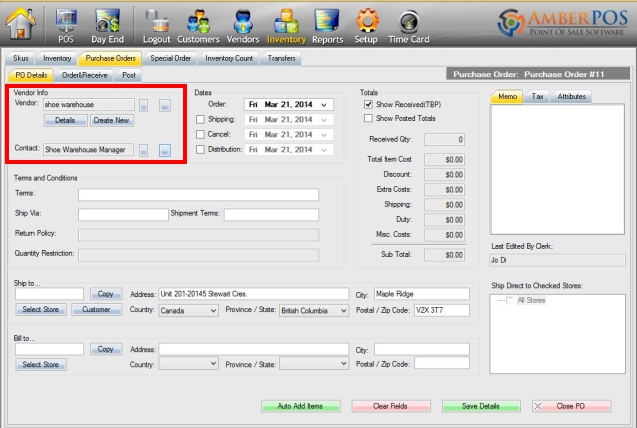
First enter in your vendor name and contact using the Vendor Info box. The  button next to each field will bring up a list of your current vendors and contacts.
The next step is to use the Dates section to specify the dates for shipping, order cancellation, and distribution. Use the check-boxes next to each applicable date to select them and enter the info.

Any special conditions can be entered in the Terms and Conditions section. The Return Policy and Quantity Restriction fields will be automatically filled in from your vendor's info settings.

Use the bottom section to enter the shipping and billing addresses for your order. To quickly fill in the fields, press  under each section to bring up a list of your stores currently set, and automatically add their info.
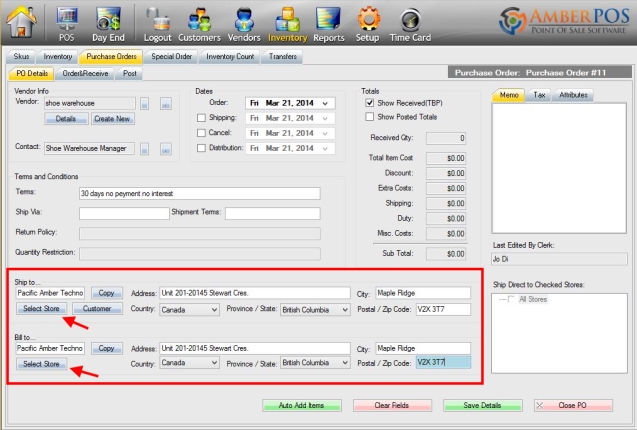
If you need to ship your order to a customer instead of one of your stores, use the  button to bring up your customer list and select the one you wish.
You can include a memo by using the Memo field. The memo will be included on the printed copy of the purchase order.
Once you have entered all the information for your order, save it by pressing  .
.

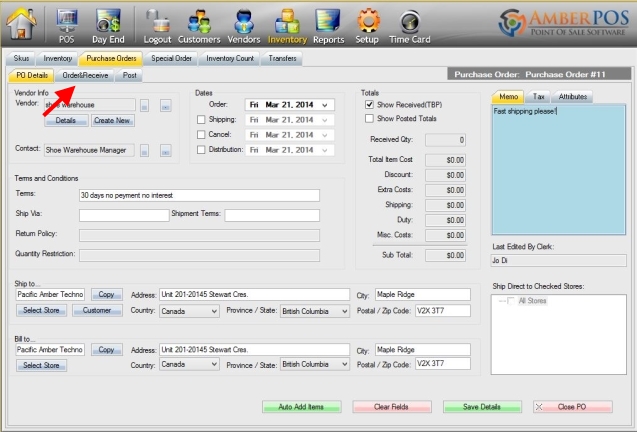
You can now use  to close the order, or use the
  tab to proceed and add items to your purchase order.
Preview:
Related:
Article written with AmberPOS version 4.14.05.05
Updated